
Grow Cannabis Indoors (2026 Edition)
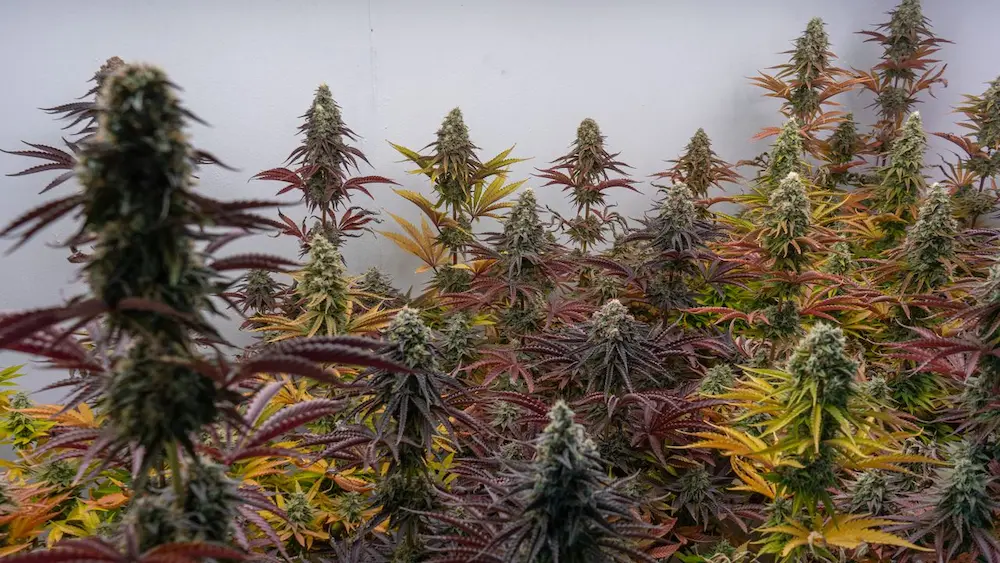
Growing cannabis indoors is a transition from hobbyist to master, offering unparalleled control over the cultivation process. Unlike outdoor gardening, which is subject to the unpredictable nature of weather, pests, and seasonal light, indoor cultivation relies on a closed-loop environment where every variable—temperature, humidity, airflow, and light—is dictated by your equipment. This guide provides a comprehensive roadmap for achieving laboratory-grade results year-round.
Planning Your Indoor Environment
The foundation of a successful indoor grow is the environment itself. Creating an isolated, optimized space is the first step in your journey toward a high-yield harvest.
Choosing Your Grow Space
Whether you are using a closet, a spare room, or a dedicated grow tent, the space must be light-tight, clean, and well-ventilated. For most home growers, a grow tent is the industry standard. These tents are lined with reflective Mylar, which bounces back up to 95% of light, maximizing efficiency. A tent size of 80x80x160 cm or 100x100x200 cm is typically sufficient for three plants. Ensuring the tent is absolutely light-tight is vital, as any light leakage during the dark phase can stress photoperiodic plants and lead to hermaphroditism.
Lighting: The Heart of Your Grow
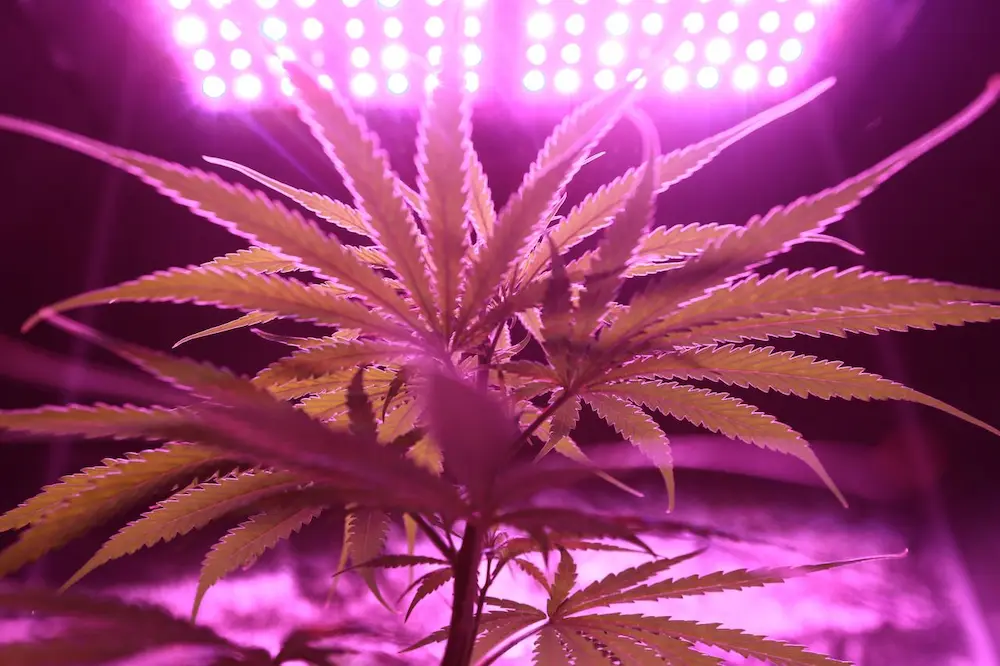
Light is the most critical factor in indoor cultivation, as it provides the energy for photosynthesis. In 2026, Full-Spectrum LED (Light Emitting Diode) technology is the undisputed winner. Unlike older HID or fluorescent technologies, modern LEDs generate less heat, have longer lifespans, and provide a full spectrum that maximizes bud density.
- Vegetative Phase: Aim for 100–150 watts per square meter (300–600 µmol/m²/s of PPFD).
- Flowering Phase: Increase to 200–300 watts per square meter (600–900 µmol/m²/s of PPFD).
View our top-rated, energy-efficient LED grow lights here
Essential Indoor Grow Equipment Checklist
Maintaining a professional indoor grow requires several key pieces of equipment:
- Ventilation System: You need an exhaust fan with an activated carbon filter to pull out warm, odor-intensive air and clean it before venting outside.
- Air Circulation: Oscillating internal fans are mandatory to prevent "dead" air pockets, which are breeding grounds for mold. These fans also strengthen stems by allowing the plants to sway, mimicking a natural breeze.
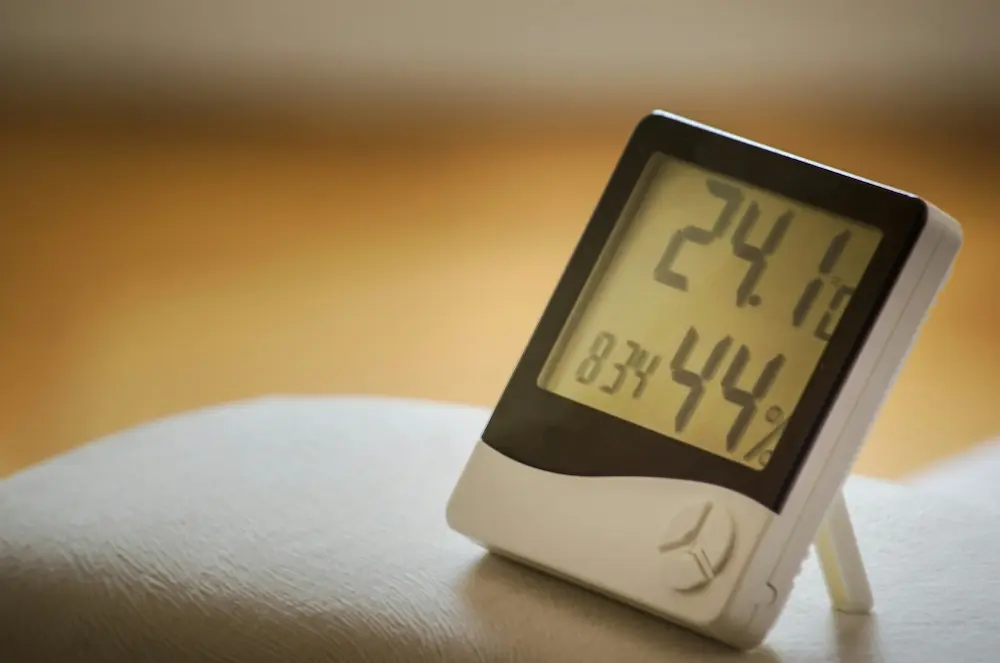
- Climate Management: A thermo/hygrometer is essential to track temperature and humidity. Depending on your climate, you may also need a humidifier, dehumidifier, or heater to stay within range.
- Growing Medium and Containers: Fabric pots are highly recommended because they encourage "air-pruning" of roots, which promotes a healthier, more fibrous root system compared to standard plastic containers.
Find our hand-picked Grow Kits and Fabric Pots for a successful grow.
Mastering the Climate: The Science of VPD
Successful indoor cultivation is centered around the Vapor Pressure Deficit (VPD)—the relationship between temperature and humidity that dictates how effectively a plant can transpire.
Why VPD Matters
If the VPD is too low, the air is too saturated, causing nutrient uptake issues and mold. If the VPD is too high, the air is too dry, causing the plant to close its stomata and halt growth. Measuring leaf temperature (often 2–5°F cooler than ambient air) is the most precise way to track this.
Recommended Climate Targets
- Seedling/Clone: High humidity (70–80%) and warmer temperatures (75–80°F).
- Vegetative: Temperatures 72–82°F; humidity 58–75%.
- Flowering: Temperatures 75–82°F; humidity 60–72% in early flower, tapering to 50–60% by the final weeks to prevent mold.
Easiest way to keep track of humidity is using a humidity monitor
Selecting Your Genetics
The quality of your harvest starts with your seeds.
- Autoflowers: These strains transition from vegetative to flowering automatically based on age rather than light cycles, often finishing in 8–10 weeks.
- Photoperiods: These allow growers to control the duration of the vegetative stage, which is useful for maximizing plant size before switching to a 12/12 light cycle for flowering.
Nutrient Strategies
Cannabis plants require a specific balance of Nitrogen (N), Phosphorus (P), and Potassium (K).
- Organic Nutrients: Feed the soil microorganisms, which in turn feed the plant. This method is often associated with superior flavor and aroma profiles but can be slower to act.
- Synthetic Nutrients: Provide bioavailable nutrients directly to the plant for explosive growth. However, they require careful monitoring of pH and Electrical Conductivity (EC).
Pro-Tip: Always use a pH meter. For soil, maintain a pH between 6.0 and 7.0; for coco or hydroponics, maintain a range of 5.5 to 6.5.
Advanced Training Techniques
To maximize your indoor space and yield, you must manipulate the canopy.
Topping and FIMing (High-Stress)
Used during the vegetative phase to break "apical dominance," where the plant focuses energy on one main stem. By removing the top growth point, you encourage the plant to develop multiple main colas.
Low-Stress Training (LST) & ScrOG
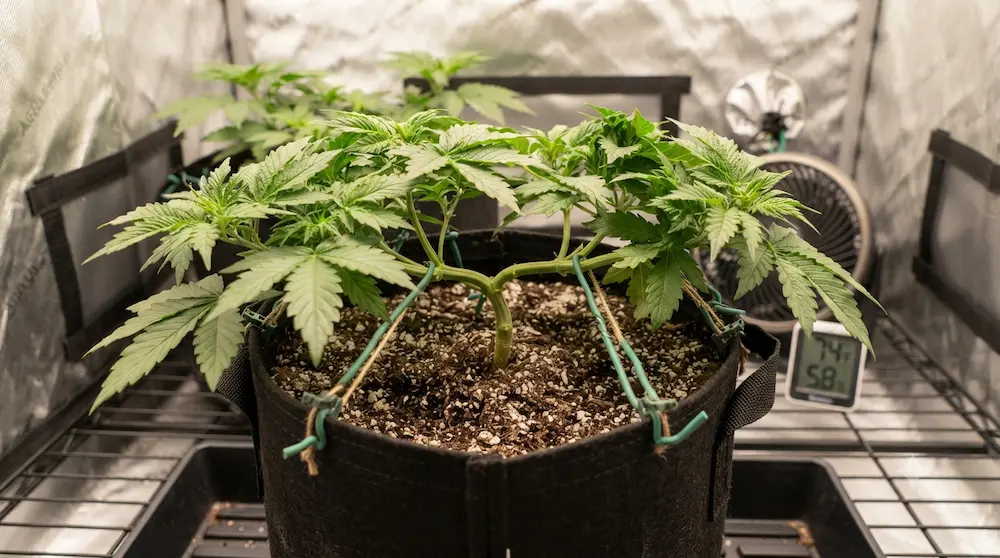
- LST: Involves gently bending and tying down branches to create a wider, flatter canopy. This increases light penetration to lower nodes.
- Screen of Green (ScrOG): A technique where growers weave branches through a net or trellis. This is the most efficient way to ensure that every single bud site receives identical light intensity.
Read out definitive cannabis low-stress training guide for an indepth look at low-stress training.
Proactive Integrated Pest Management (IPM)
An indoor environment is not sterile. To stay ahead of pests:
- Sanitation: Never wear clothes into the grow room that you’ve worn outdoors.
- Monitoring: Use sticky traps to catch flying insects like fungus gnats.
- Biological Controls: Introduce predatory mites to manage populations of spider mites or thrips naturally.
- Warning: Never use chemical IPM sprays once plants have begun developing flowers (after Week 3 of flower), and never spray while lights are on.
Harvest, Drying, and Curing
Harvesting at the wrong time is the most common mistake for novice growers.
Trichome Assessment
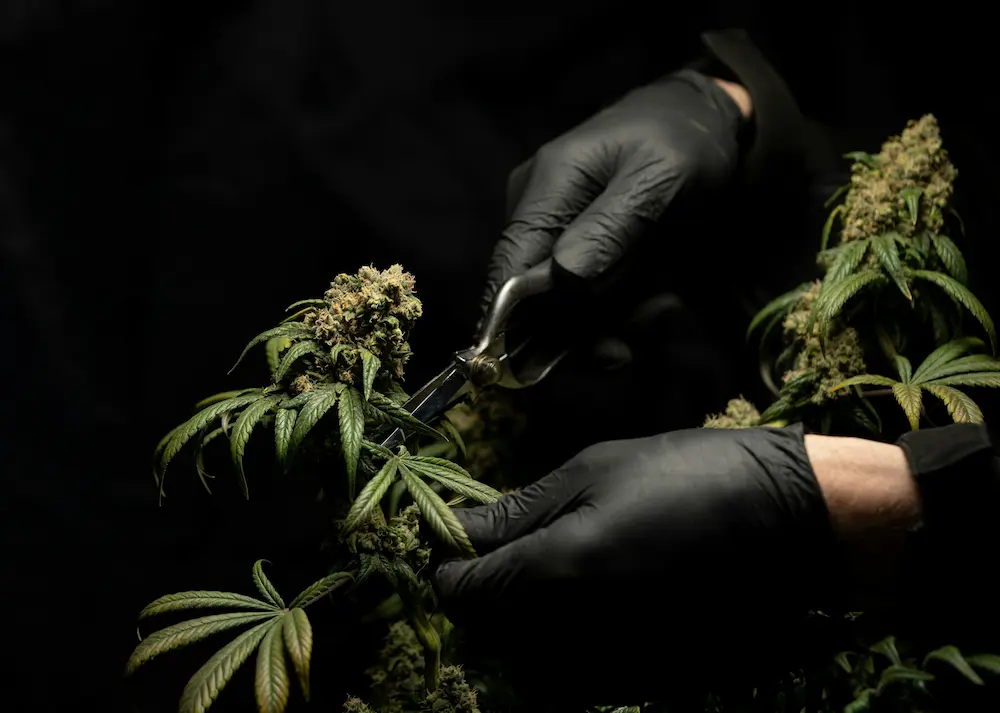
Use a 60x-100x jeweler's loupe or digital microscope to inspect the trichomes (resin glands):
- Clear: Not ready; lacks potency.
- Milky White: Peak THC content; ideal for a "head high".
- Amber: THC is degrading into CBN, which produces a more sedative, "couch-lock" effect.
Drying and Curing
Hang the entire plant or individual branches upside down in a dark room at 60–65°F and 55–60% RH. The drying process is complete when the stems "snap" rather than bend.
Once dry, trim the buds and place them in airtight glass jars, filling them about 75% full. Open ("burp") the jars for 10–15 minutes daily for the first two weeks to release excess moisture. This cures the buds, breaking down chlorophyll and resulting in a smoother smoke and more refined terpene profile. To find out more details on how to cure cannabis properly, read: How to Cure Cannabis.
Growing cannabis indoors is a blend of science, art, and patience. By maintaining a clean environment and sticking to the fundamentals of climate and light management, you can achieve consistent, high-quality results harvest after harvest.