
Guide on how to cure cannabis
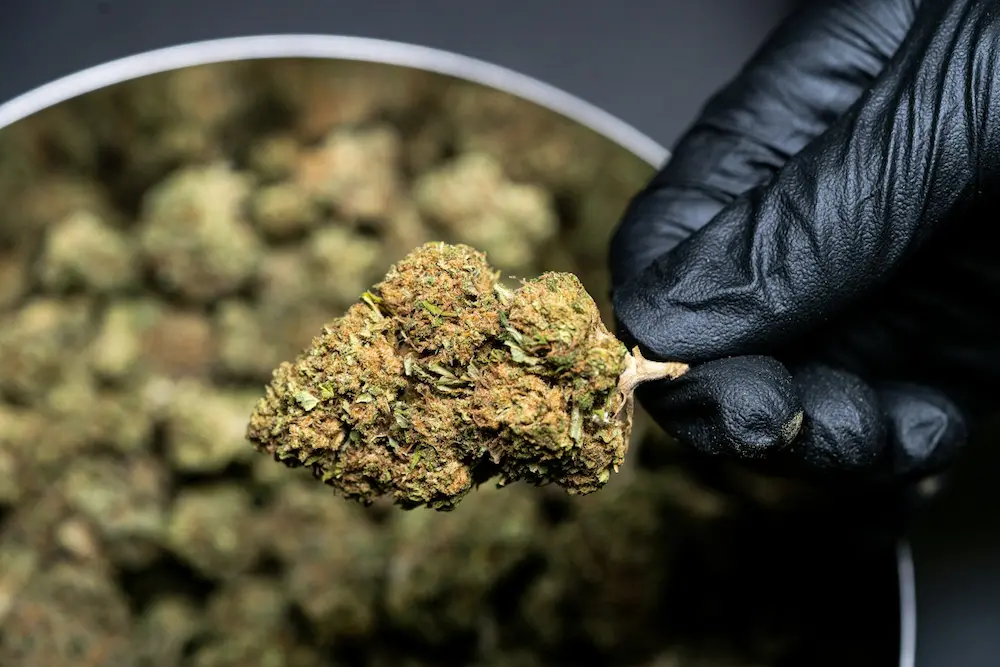
After months of nurturing your plants from seed to harvest, you have finally reached the finish line. Your drying rack is full, your trim scissors are dull, and the scent of a fresh harvest fills the room. It is tempting to believe the hard work is over—but for the true connoisseur, learning how to cure cannabis properly is the most critical phase of the cultivation cycle.
Curing is not merely "storage"; it is a sophisticated, final transformation. It is the period where your harvest moves from being raw "dried plant matter" to becoming a premium, high-potency, and terpene-rich product. If you skip this step or rush the process, you lose the subtle nuances of flavor and the smooth, lung-friendly finish that defines top-shelf cannabis.
The Biochemistry of the Cure: Why Patience Matters
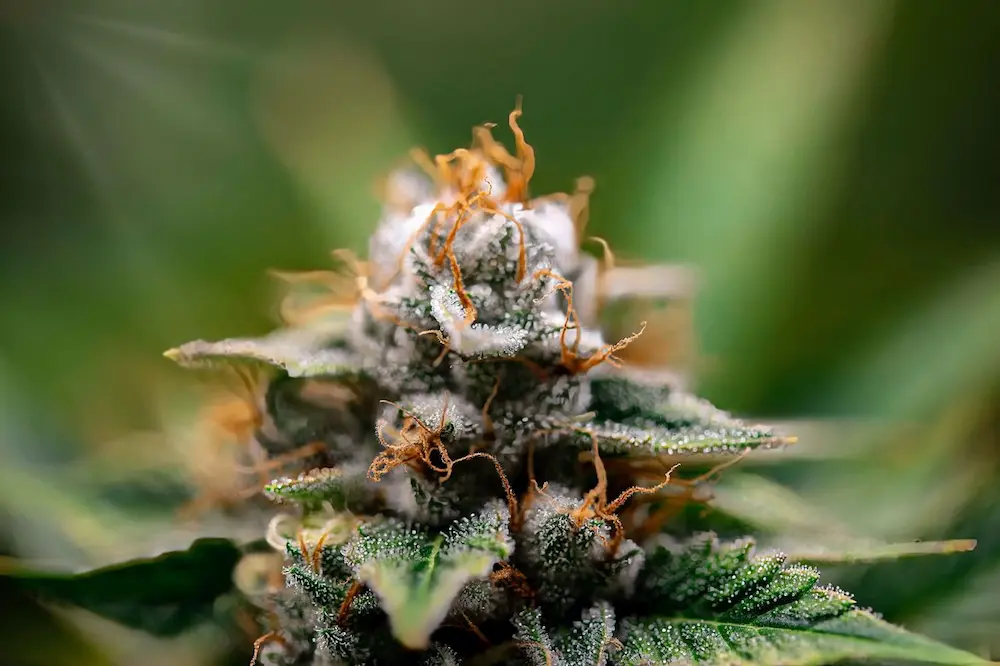
At its core, the process of how to cure cannabis is a controlled, slow degradation. When you harvest, your flowers are still biologically active. They contain water, complex sugars, starches, and chlorophyll. If you smoke your buds immediately after drying, you are effectively smoking all of these compounds. The harsh, "green" taste and the scratchy, throat-burning sensation are the direct result of residual chlorophyll and sugars that haven't been properly broken down.
Curing allows for three primary chemical changes that transform the quality of your smoke:
1. Chlorophyll Breakdown
Chlorophyll is essential for plant growth, but it is undesirable in a final smoke. Chlorophyll contains magnesium, which imparts a bitter, metallic taste when combusted. During the first few weeks of the cure, the plant cells continue to die off in a controlled manner, and enzymes break down the chlorophyll. This is why properly cured weed changes from a vibrant, "grassy" green to a more muted, olive-drab, or even golden hue.
2. Metabolic Refinement of Sugars
During their life cycle, plants store energy in the form of sugars and starches. If these remain in the bud at the time of consumption, they burn unevenly and contribute to a harsh, acrid smoke. Aerobic bacteria and residual plant enzymes spend the initial weeks of the cure "consuming" these excess starches. This process is effectively a natural cleansing of the flower.
3. Terpene Preservation and Development
Terpenes—the volatile aromatic oils that give cannabis its strain-specific profiles—are incredibly fragile. Many evaporate at temperatures as low as 70°F (21°C) if the environment is not stabilized. A proper, slow cure at the correct humidity allows these compounds to mature rather than evaporate. It allows the "volatile" terpenes to bond and solidify, leading to a much more pungent and complex nose.
Myrcene: Often associated with earthy, musky aromas, it becomes more prominent as it cures properly.Limonene: This citrus-forward terpene is notoriously volatile; proper humidity control is the only way to keep it from fading into nothingness.- Caryophyllene: Known for its spicy, peppery profile, it is one of the most stable terpenes but still benefits from the "sweating" effect of a controlled cure.
Essentially, curing is a "sweating" process. By keeping the buds in an airtight environment, you allow moisture trapped deep within the dense core of the flowers to slowly migrate to the exterior. This redistribution prevents the buds from becoming "crispy" on the outside while remaining damp and susceptible to mold on the inside.
Setting the Stage: The Pre-Cure Environment
Understanding how to cure cannabis starts with the dry. Curing will not fix a bad dry. If you have rushed the drying phase, the cell walls may have hardened too quickly, locking moisture inside. This is known as "case hardening." If this happens, your curing process will fail, and you will likely deal with mold or an uneven burn.
The Technical "Sweat" (Intermediate Drying)
Before the jars, some master growers use the "paper bag" method. Once the stems are almost dry, placing the buds in paper bags for 24–48 hours can help normalize the moisture content. The paper draws out excess surface moisture, preventing the initial spike in humidity that often causes mold when you first seal them in glass.
The Drying Check
Before moving to your jars, you must be absolutely certain the drying process is complete.
- The Snap Test: Take a medium-to-thick stem from the main colas. Bend it. If it bends like rubber, it is still too wet. If it snaps with a crisp, clean "crack," the moisture has successfully exited the stem.
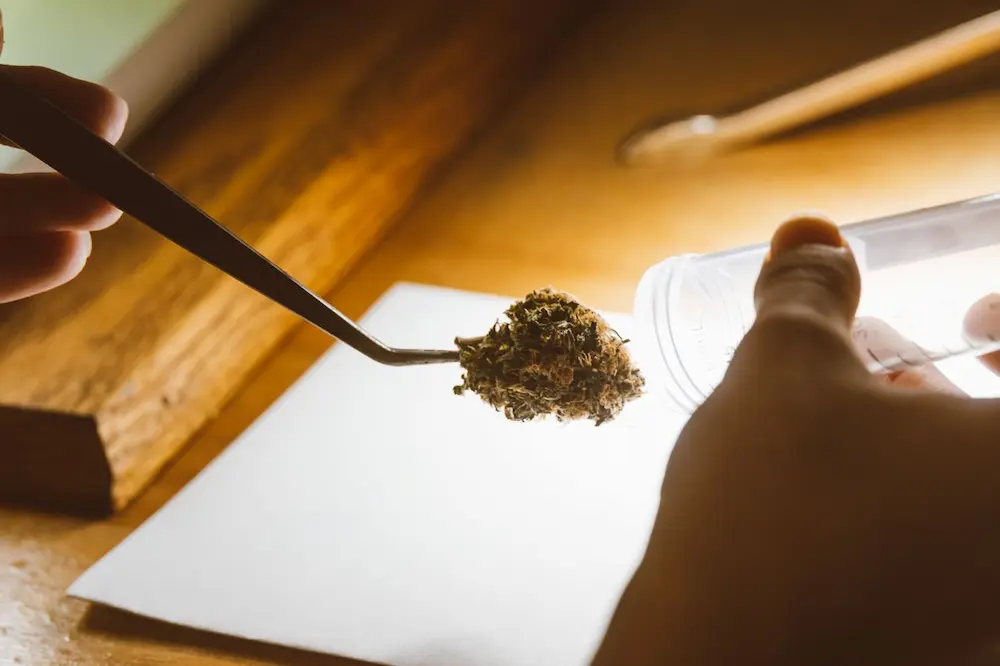
- The Texture Test: The buds should feel dry to the touch, but they should still have a bit of "spring" to them. If they crumble into dust when squeezed, you have over-dried them. While you can re-moisturize, the curing process will be significantly compromised.
The Connoisseur’s Toolkit: Equipment for Success
Consistency is the absolute secret to a professional-grade cure. You need to eliminate as many variables as possible.
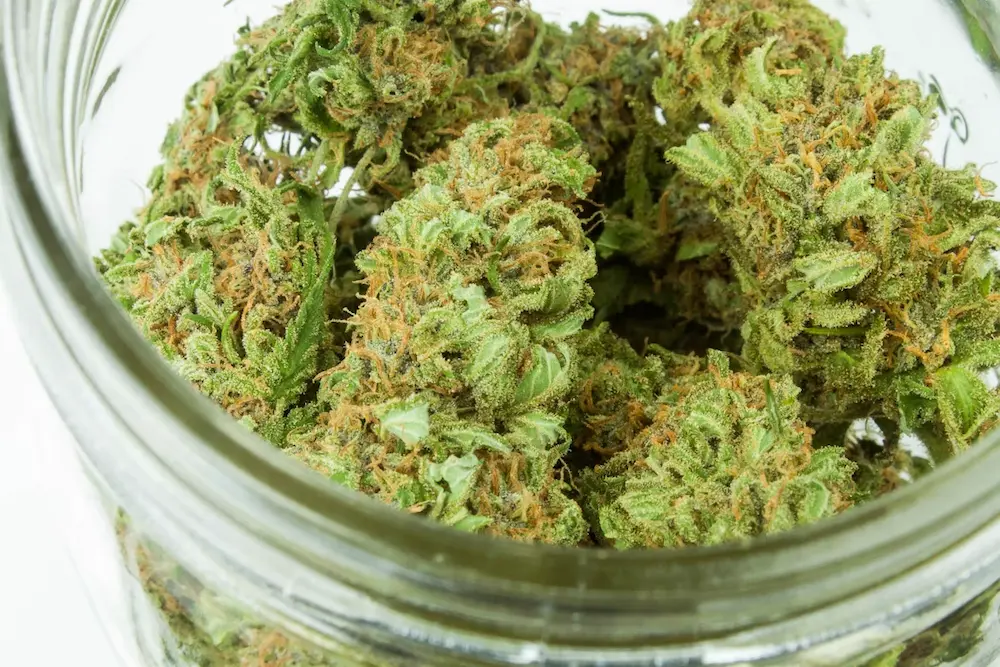
- Airtight Containers: Glass is the industry standard because it is non-reactive. Plastic, over time, can off-gas or absorb the very terpenes you are trying to preserve. Using purpose-built, high-quality curing pots that provide an airtight seal and light protection is a critical investment for your harvest. Auto-Cure Smart Jar and Vacuum Seal with Built In Hygrometer
- Digital Hygrometers: Never guess the humidity inside your jars. Small, calibrated digital hygrometers are inexpensive and essential for seeing exactly what is happening in the micro-climate of your container.
- Environment Control: You need a dark, cool space where temperatures stay between 60–70°F (15–21°C). If your room is too warm, the curing process accelerates too quickly, causing the loss of terpenes. If it is too cold, the biological activity required to break down chlorophyll will stall.
The Step-by-Step Curing Masterclass
Phase 1: The Stabilization (Days 1–14)
This is the "active" phase. You are monitoring the moisture content to ensure you are in the safe zone for aerobic breakdown.
1. Jarring: Place your trimmed buds into your jars. Fill them to roughly 75% capacity. Never compress them; they should be loose enough for air to flow between them.
2. The Humidity Calibration: After 24 hours, check your hygrometer.
- 60–65% RH: Perfect. You are in the ideal zone for enzymatic breakdown.
- Above 65% RH: Too wet. This is the danger zone for mold. Leave the jars open for 2–3 hours.
- Below 55% RH: Too dry. The curing process is effectively halted. Consider using a small humidity control pack to bring the moisture back up.
3. The "Burping" Ritual: Open each jar once a day for 10–15 minutes. This releases the moisture-laden air and replaces it with fresh oxygen. Oxygen is the fuel that allows the aerobic bacteria to continue the enzymatic breakdown.
Phase 2: The Refinement (Weeks 3–6)
By this stage, the humidity should be hovering naturally between 58% and 62%. The "green" scent will be replaced by the sophisticated aroma of the strain.
- Burping Frequency: You can reduce your efforts to burping the jars every 2–3 days.
- Observation: Pay attention to the texture. The buds should feel slightly "spongy" but maintain their structure. If you squeeze a bud, it should feel like a dense, high-quality flower that returns to its shape.
Phase 3: The Long-Term Archive (Month 2 and Beyond)
Once your buds have stabilized, they can be stored for months.
- Storage: Keep your jars in a cool, dark, and dry place. Light is the enemy—UV rays will degrade THC and terpenes faster than almost anything else.
- The Final Seal: If you are confident in your humidity (58–62% RH), you can limit the opening of your jars to once every few weeks. This is the "curing phase" where the final chemical nuances truly blossom.
Debunking Common Myths and Mistakes
In your quest to learn how to cure cannabis, you will encounter a lot of "bro-science." Here is what you should avoid:
- Myth: "The Freezer Cure." Freezing does not cure; it pauses all biological processes and can cause trichomes (the THC-laden crystals) to become brittle and fall off the bud.
- Myth: "Orange Peels/Apple Slices." While these add moisture, they introduce organic matter that is highly susceptible to mold. Furthermore, they impart artificial flavors that mask the true profile of your strain. Use dedicated humidity packs instead.
- Myth: "Plastic Bags are Fine." Plastic is porous. Over time, oxygen and moisture will seep in and out, and the plastic can leach chemicals into your flowers. Always use glass, stainless steel, or specialized, food-grade storage containers.
Advanced Troubleshooting for the Pro Grower
- The "Ammonia" Smell: This is the most common disaster. It occurs when buds are jarred while too wet, leading to an anaerobic environment. The buds essentially begin to rot. If you smell ammonia when you open the jar, take the buds out immediately and spread them on a drying rack for several hours. If the smell persists, the batch may be compromised.
- The "Hay" Smell that Won't Go Away: This usually means the buds were dried too fast or the curing environment is too dry. The chlorophyll was "locked" into the plant before it could be broken down. Unfortunately, there is no "cure" for this; the quality will remain mediocre.
- Managing Mold: If you see white, powdery, or fuzzy growth on a bud, it must be removed. Do not attempt to "salvage" the surrounding buds. Mold spores travel through the air, and if one bud is showing signs, the entire jar is likely contaminated.
The Final Verdict: Patience Is Part of the Product
Learning how to cure cannabis is not just a technique; it is a discipline. Many growers get impatient and smoke their harvest early, missing out on the full terpene potential they worked so hard to cultivate. By following these rigorous steps and keeping your environment stable, you are doing more than just storing weed—you are polishing a diamond.
You have spent the time to grow the plant; now, give your harvest the time to mature. A well-cured flower is a testament to the grower's patience. Treat your harvest with the respect it deserves, and you will be rewarded with a smooth, flavorful, and potent end product that stands out from the rest.
Happy growing, and remember: The best things in life—especially when learning how to cure cannabis properly—are worth the wait.