
The Foundation of Edibles: Understanding Decarboxylation and Infusion
Whether you are baking classic chocolate chip cookies, whipping up a batch of brownies, or enriching a savory sauce, cannabutter (cannabis-infused butter) is the cornerstone of home-cooked edibles.
While dispensary shelves are full of pre-made treats, making your own cannabutter at home gives you complete control over the ingredients, strain selection, and final potency. However, making effective edibles requires more than just tossing raw flower into melted butter. To unlock the psychoactive potential of the plant, you have to master two foundational scientific steps: decarboxylation and infusion.
This comprehensive guide walks you through the exact process professional home cooks use to make clean, potent, and delicious cannabutter every single time.
The Science: Why Decarboxylation Matters First
Before you melt a single stick of butter, you must understand decarboxylation (often called "decarbing").
Raw cannabis flower does not actually contain high amounts of active THC. Instead, it contains THCA (tetrahydrocannabinolic acid), a non-intoxicating precursor compound. For THCA to convert into active, psychoactive THC, it needs time and heat. Smoking or vaping a joint naturally handles this through instant combustion, but when you cook edibles, you have to activate the flower manually in an oven beforehand. Skipping this step results in edibles that produce little to no psychoactive effect.
Ingredients and Equipment You Will Need
To pull off a standard batch of potent cannabutter, gather the following household kitchen tools and ingredients:
Ingredients:
- 7 to 10 grams of cannabis flower(or quality trim/sugar leaf from a home harvest)
- 1 cup (2 sticks) of unsalted butter(Unsalted butter gives you pure flavor and better control over the salt content in your final recipes)
- 1 cup of water(Optional, but highly recommended. Water prevents the butter from scorching during long simmers and helps wash away bitter chlorophyll impurities)
Equipment:
- Baking sheet and parchment paper
- Herb grinder
- Cooking thermometer (crucial for monitoring heat)
- Cheesecloth or fine-mesh metal strainer
- Airtight glass container or storage jar
Step-by-Step Instructions
Step 1: Decarboxylate Your Cannabis
- Preheat your oven to 240°F (115°C).Precise temperature control is vital here; too much heat will degrade valuable cannabinoids and burn off delicate flavor terpenes.
- Prepare the flower: Break your cannabis buds down gently by hand or with a grinder into medium-coarse pieces. Avoid grinding it into a fine powder, as powdery plant matter slips easily through strainers and makes your butter gritty and harsh.
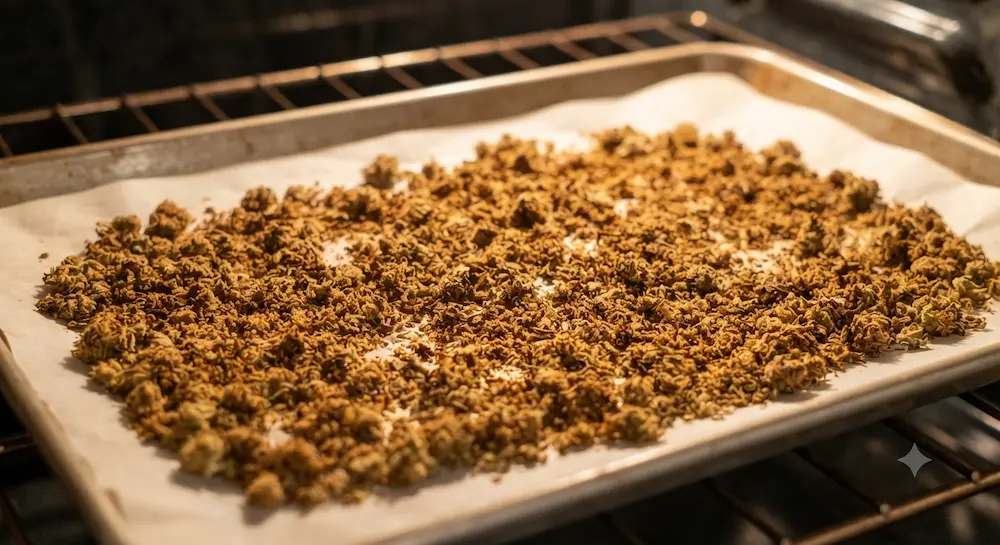
- Arrange on the tray: Line a baking sheet with parchment paper and spread your broken cannabis out in a single, even layer.
- Bake: Place the tray in the oven on the center rack for 30 to 40 minutes. For even heating, consider stirring the flower gently halfway through.
- Cool: You will know it's done when the herb turns a slightly darker, toasted golden-brown and releases a rich, nutty aroma. Remove from the oven and let it cool completely before handling.
Step 2: Infuse the Butter (The Low-and-Slow Method)
Now that your cannabis is fully activated, it’s time to bind those cannabinoids to the fats in your butter.
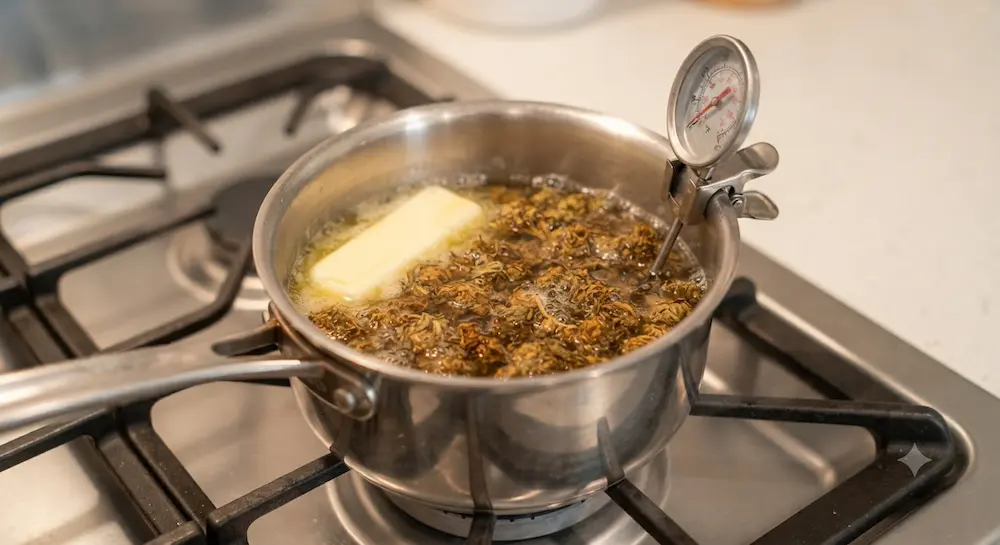
- Combine ingredients: In a medium saucepan, combine your 1 cup of water and 1 cup of unsalted butter. Turn the heat to low and let the butter melt completely.
- Add the cannabis: Once the butter is fully melted and blended with the water, stir in your decarboxylated cannabis.
- Simmer gently: Maintain a very low, consistent simmer. The ideal temperature range is between 160°F and 200°F (71°C–93°C). Never let the mixture aggressively boil, and never let temperatures exceed 250°F, or you will degrade the THC.
- Patience is key: Let the mixture simmer uncovered (or loosely covered with a lid) for 2 to 3 hours (some traditional recipes go up to 4 hours). Stir the mixture every 30 minutes to ensure even saturation and prevent any hot spots.
Step 3: Strain and Separate
- Set up your filter: Place a multi-layered cheesecloth or a fine-mesh metal strainer over the top of a clean glass storage jar or mixing bowl.
- Strain the liquid: Carefully pour the hot butter and cannabis mixture through the cloth.
- Extract the remainder: Gather the corners of the cheesecloth and twist them to squeeze out every last drop of golden butter. Pro Tip: Don't squeeze aggressively or force plant matter through the mesh, as excess chlorophyll will introduce a bitter, grassy taste to your butter.
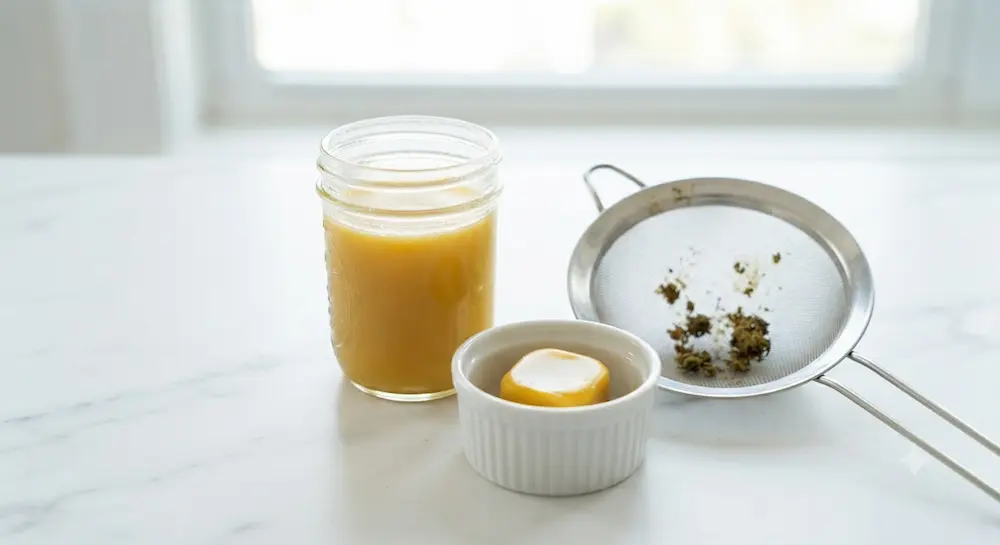
- Chill and separate: Place your jar of strained liquid butter into the refrigerator overnight. As it cools, the butter will solidify into a solid layer at the top, while the residual water (along with trapped impurities and leftover chlorophyll) will settle underneath.
- Final cleanup: Pop the solidified block of cannabutter out of the jar (or poke a small hole in the edge), pour out the remaining green water, and wipe off the bottom of the butter block.
Your clean, premium cannabutter is now ready to use or store!
Storage and Shelf Life
- Refrigerator: Store your cannabutter in an airtight container or glass mason jar in the fridge for up to 2 weeks.
- Freezer: For long-term storage, cannabutter freezes exceptionally well for 3 to 6 months. Pro tip: Slice or portion your butter into tablespoon measurements before freezing so you can easily pull out exact amounts for baking recipes.
Pro Dosing and Safety Tips
Edibles hit the human body differently than smoked or vaped cannabis because they are processed through the liver, resulting in a longer-lasting, more intense experience.
- Start Low and Go Slow: If it is your first time using a new batch of cannabutter, test a tiny amount (like a quarter-teaspoon baked into a small snack) and wait at least 2 hours to gauge its potency before consuming more.
- Watch the Baking Heat: When cooking or baking with your finished cannabutter, try to keep oven temperatures below 350°F (175°C) to prevent burning off or degrading the remaining cannabinoids.
- Clearly Label Your Stash: Always store your cannabutter clearly labeled in the refrigerator away from regular cooking butters to prevent accidental consumption by roommates, guests, children, or pets.